How to assembly MTSGWBM11 coilover suspension in BMW E30
The purchase of a new coilover suspension can be treated as a real event. Emotions when the courier arrives, when you can open the box and pull out the fresh components… and proceed with assembly. The suspension is a key element of the car. Its correct assembly is a matter of comfort of use, reliable work and, above all, safety. We want to show you, step by step, how the assembly of the MTSGWBM11 in the BMW E30 should go.
How to prepare to work?
The basis, of course, is the appropriate conditions to work. The best option will be a stable car lift. It is worthwhile to prepare the necessary tools – socket wrenches 17 and 19mm; 5 / 6mm Allen hex keys with extension, 14, 17,18,19mm wrenches; 12 / 14mm ring spanners and ratchets with 13 and 22mm sockets.
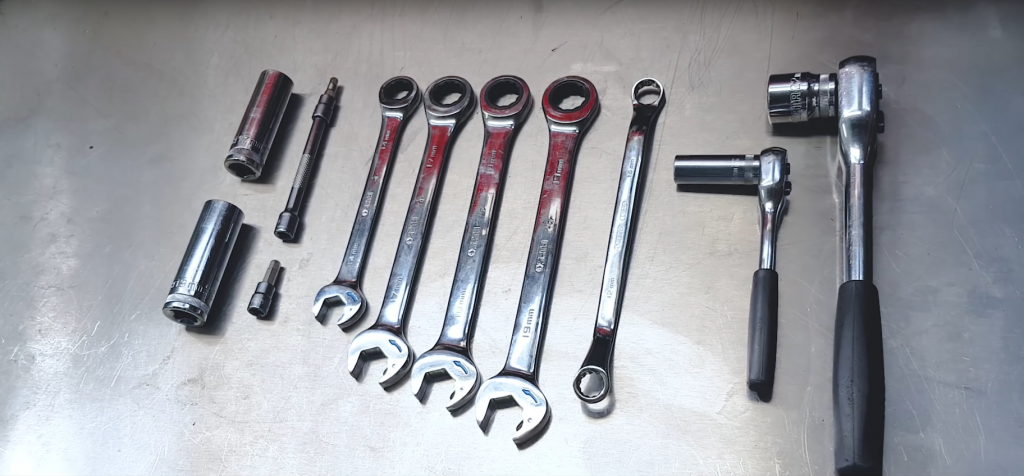
Wrenches necessary while replacing the suspension
When the car is already placed on the lift, it must be loosened in the upper shock absorber fasteners using the 13 and 19mm wrenches before lifting it. At this stage, it is also worth losing the wheels using the 17mm wrench. Then you can start lifting the car and completely unscrewing the wheels.
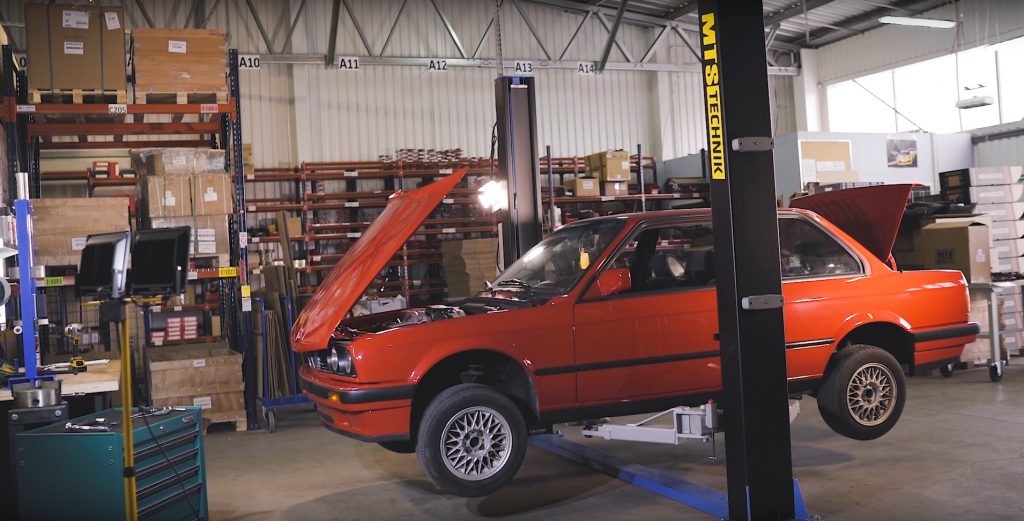
BMW E30 waiting on the lift for new coilover suspension
Replacing the suspension – front axle
Before unscrewing the hub trailing arm and brake calliper, it is worth to spray it with lubricating oil, reducing the risk of damage to the screw. After unscrewing the control arm with a 19mm wrench and removing the brake disc with a 6mm Allen key, you can proceed to the final unscrewing of the upper fixing bolts. Hold the column so that it does not fall out after unscrewing the last nut. The column pulled out of the car should be dismantled only after securing the springs with clamps.
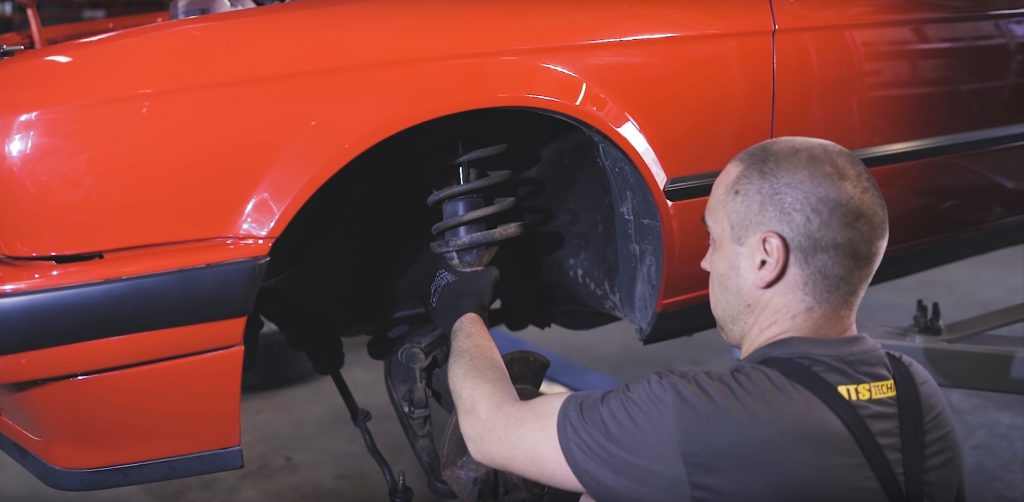
Removing OEM front strut from the car
The element devoid of unnecessary components should be cleaned in the place where the shock absorber enters the trailing arm. This will be the place of cutting, which should be made in accordance with the installation instructions enclosed with the set. The fragment that remained after cutting should be thoroughly cleaned of old paint and the sharp surfaces resulting from the cut should be ground. Next, place the GWBR08 bracket in this place and weld it with trailing arm. Fresh weld is recommended to be protected against corrosion.
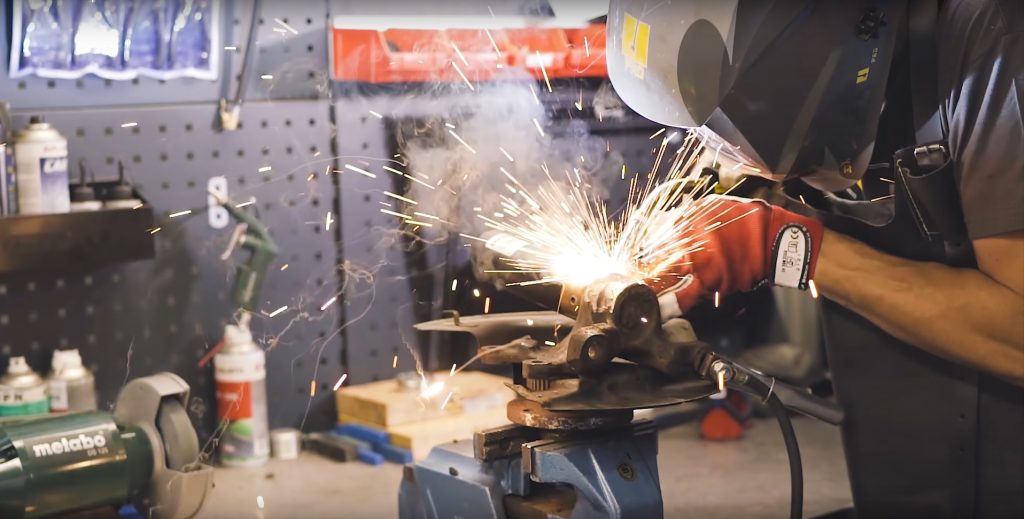
Welding a MTS Technik bracket to BMW trailing arm
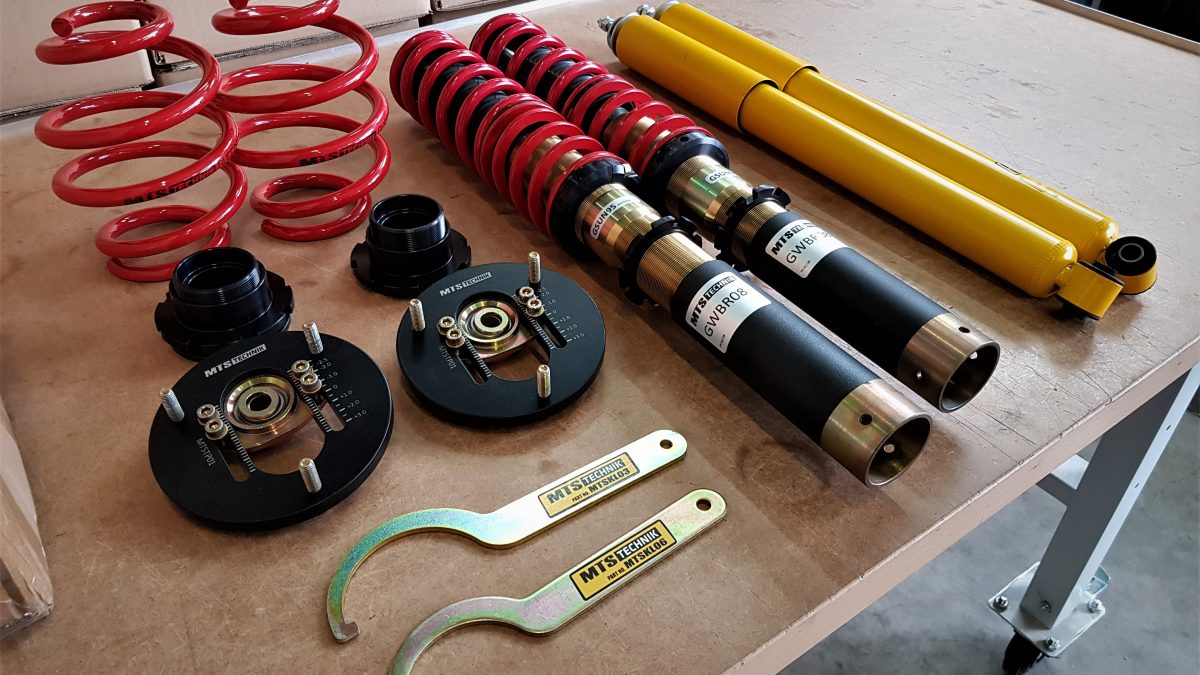
The GWBM11 front column is delivered in complete form, with the GWFE96 main spring produced by Eibach, the helper spring GWHE02 and camber plate, MTSTP01. The prepared column should be screwed into the GWBR08 bracket previously integrated with trailing arm, previously covering the threaded surface with Teflon dry grease with PTFE.
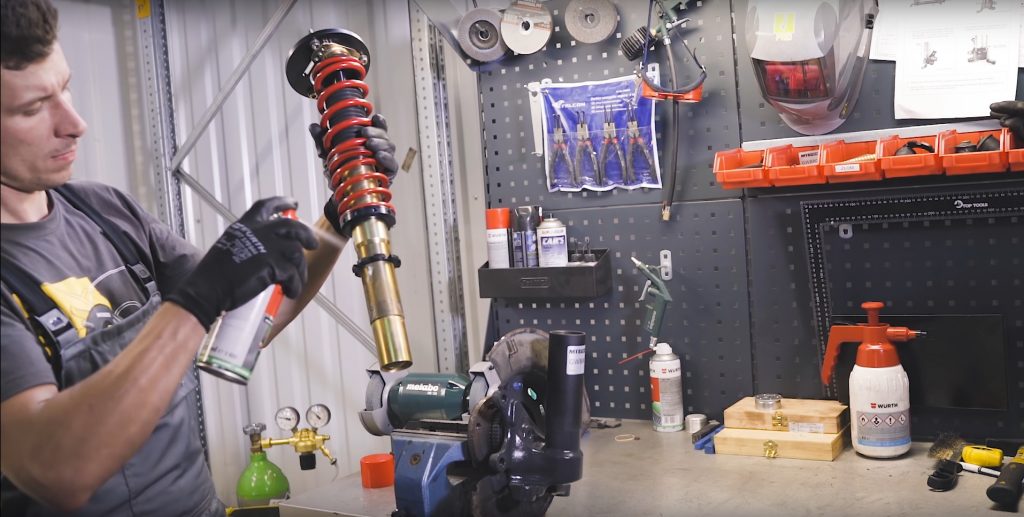
Teflon PTFE grease used on threaded surface
The whole strut can be mounted in the car, remembering that the final tightening of the upper fixing bolts takes place only after placing the car on the wheels. Before reassembling the brakes, it is recommended to clean the hub surface from metallic deposits. After doing this, you can proceed to the final tightening of the shock absorber in the bracket. The counter nut is tightened with the MTSKL06 wrench attached to the set. This is one of the two options to adjust the height of the car. The main is the threaded surface of the shock absorber, on which the car height is adjusted by hexaCOIL spring perch.
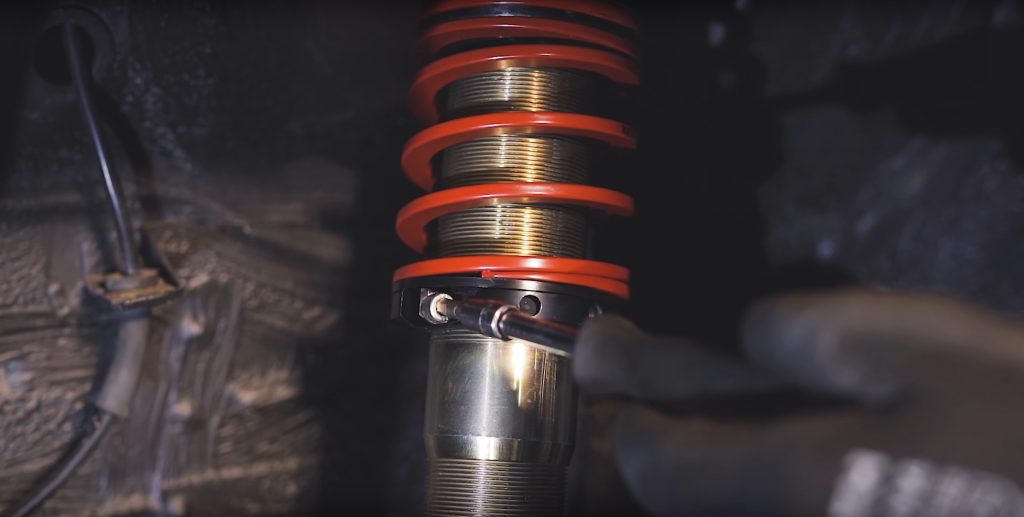
hexaCOIL spring perch
Replacing the suspension – rear axle
When the front axle suspension is already folded, you can go to the rear assembly. In the design of the BMW E30 rear suspension, the spring and shock absorber are separate components. Using a 13mm wrench, unscrew the top mounting of the standard shock absorber, and then place it on the MTS Technik MTSBM002R shock absorber. If the upper mounting shows signs of wear, new ones should be purchased so that each suspension element works without any objections.
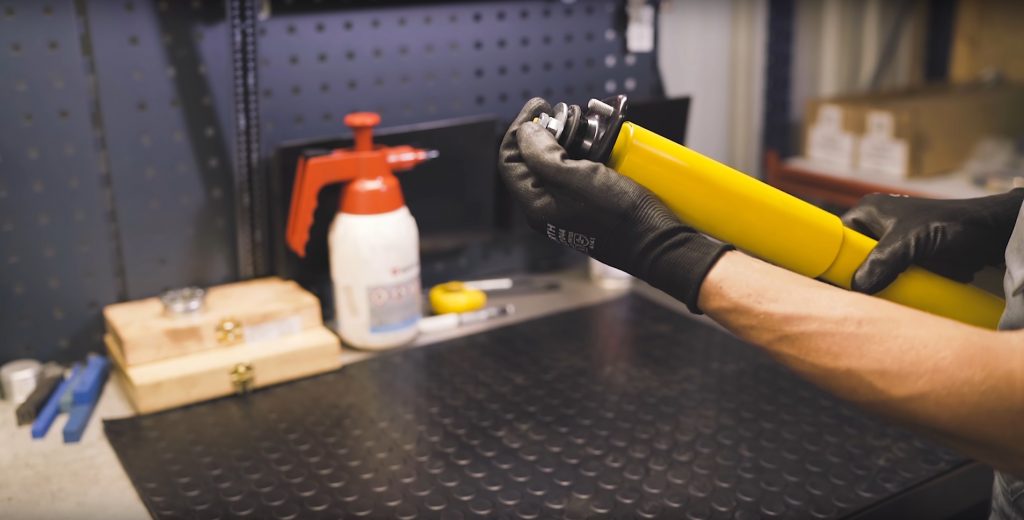
Completing the rear shock absorber
When replacing the spring with the equivalent of MTS Technik, it is essential that the factory rubber spring holder is put down and placed in the car’s rear control arm. In the current place of the holder, the GWBM10HA height adjustment should be placed, which will at the same time keep the spring in place and allow the car’s height to be adjusted.
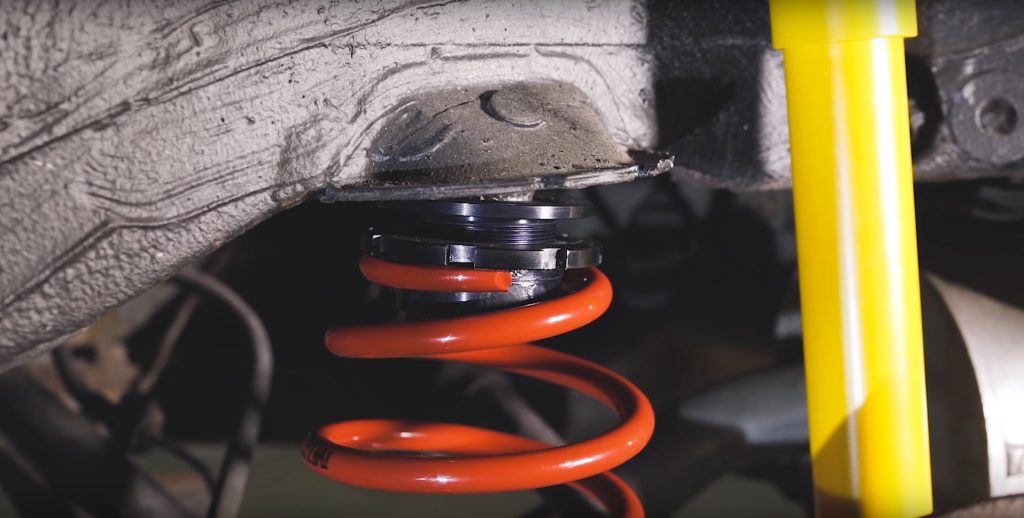
Rear height adjustment
After making sure that all the elements are in place, you can proceed with the wheels assembly and take the car down. When all its weight rests on the wheels, tighten all bolts, including wheel bolts. In this way, the assembly process can be considered finished. To make it even more friendly, we have prepared the whole process described above in the form of a video guide:
The value of a final result of lowering a Bavarian youngtimer we’ve shown You in the previous post.

Comments